These cute little white Chocolate Covered Rice Krispy Treats are extra good, thanks to some key tips that really make all the difference…this is the best version of the classic treats ever!
Jump to:
Why You’ll Love This Recipe
I’ll tell you right now that I love Chocolate Covered Rice Krispie Treats with all my heart.
That said, I’ve certainly had my share of mediocre versions over the years, and I wanted to share these with you! The neighbors said these were the best rice krispy treats they’d ever had, and that’s good enough for me! 🙂
Here’s why you should try them:
- These are pillow-y and soft and crunchy all at the same time
- Unbelievable flavor, thanks to a few key techniques
- Classic! We don’t go too far off the ranch with this version… Just a few tricks off the original recipe make these the best rice krispy treats ever. Dipped in chocolate and decorated, these are next-level. You can customize them for different occasions with festive sprinkles or different types of candy.
- This is one of those fun and easy recipes that can be made for Valentine’s Day, Easter, Mother’s Day, Memorial Day, birthday parties, baby showers ….you get the idea.
- Everyone LOVES these sweet treats, and making them is a fun activity for everyone!
Ingredients You’ll Need
For the full recipe, ingredients and instructions, please scroll down to the recipe card below.
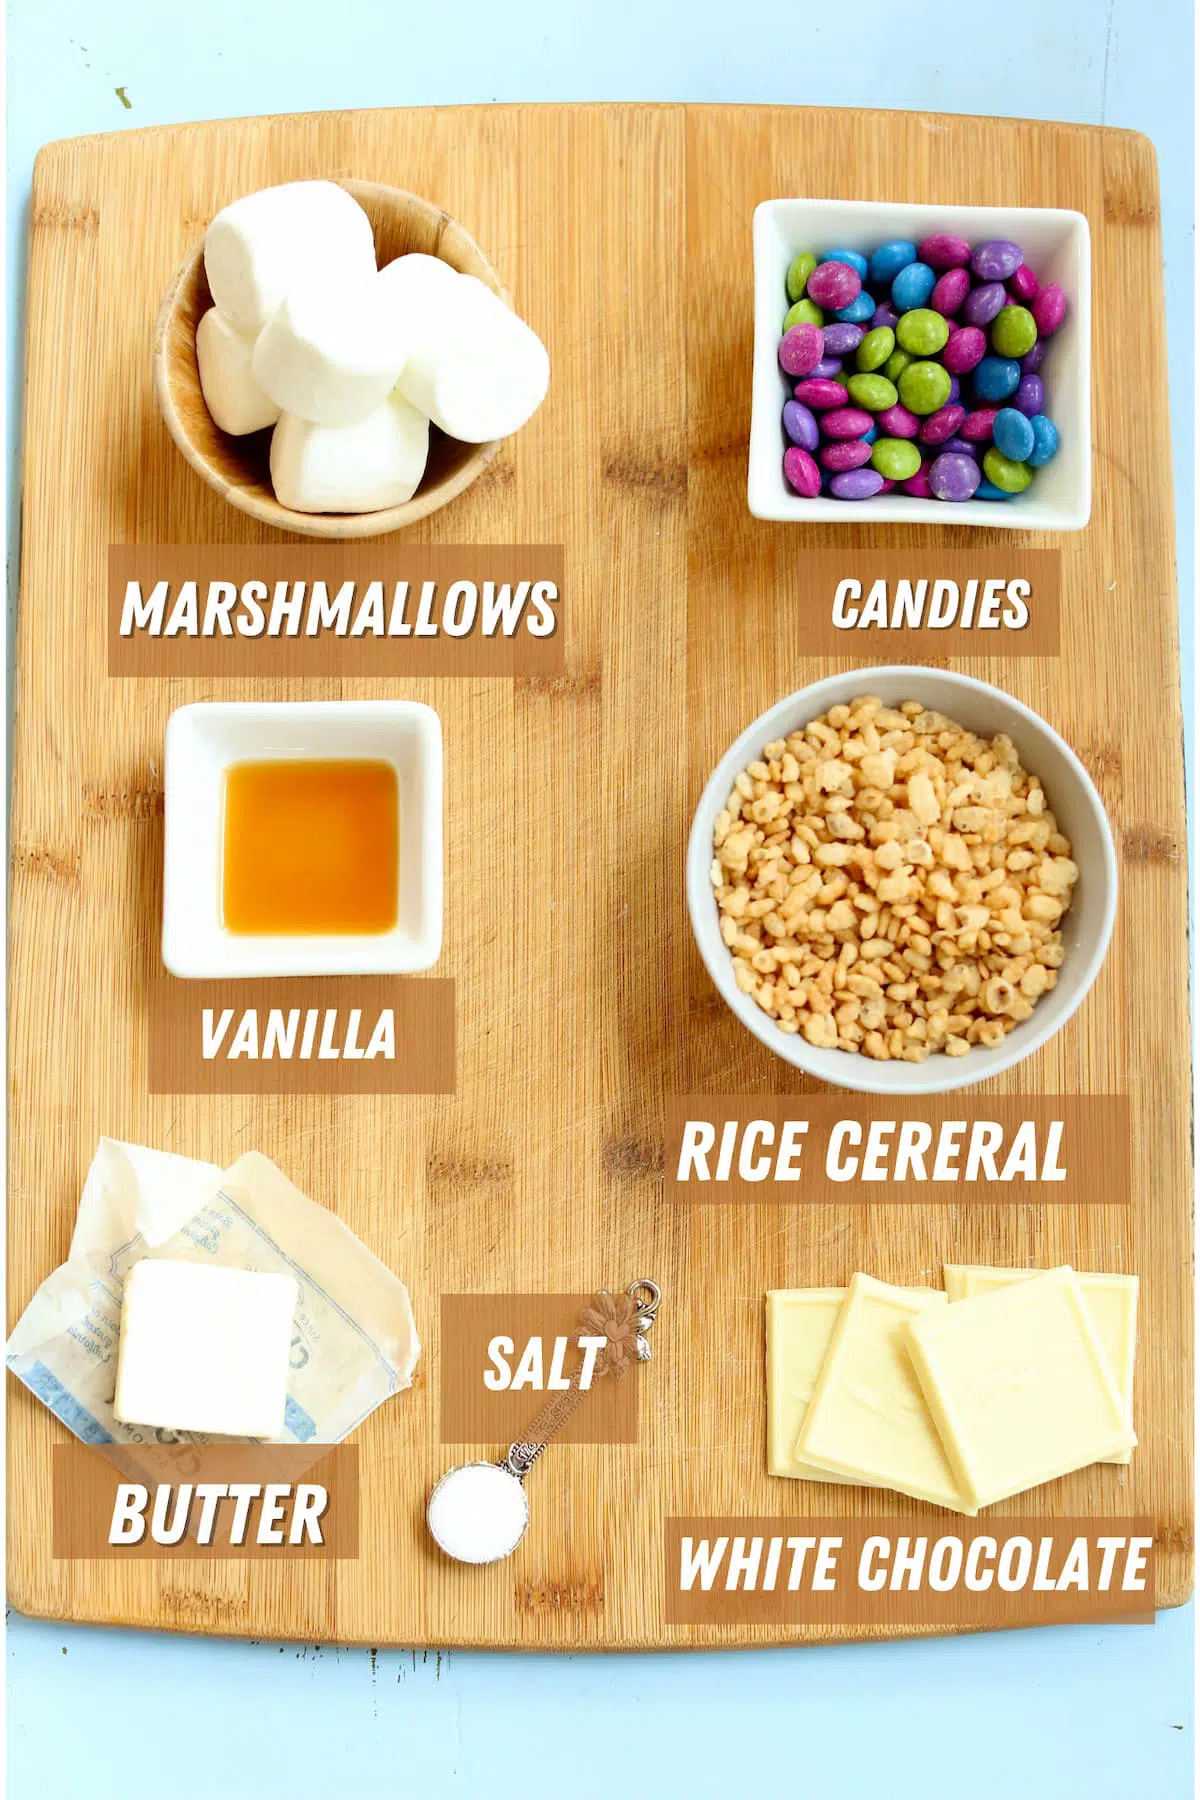
- Marshmallows: A 16 ounce bag, (I used a 16-ounce bag of Jet Puffed brand, not sponsored). Be sure to look at the quantity in ounces before you buy, you definitely need all 16 ounces!
- Rice Cereal: Use the classic brand, or any crispy rice cereal, even brown rice cereal. (which is all I could find at the grocery store) Any of those are fine to use.
- Butter: Unsalted, for flavor and also to prevent sticking in a couple of areas (bowl and pan.)
- White Chocolate: Use four ounces, and I like this Ghirardelli Classic White Baking Bar (not sponsored) the best.
- Candies: I used Unreal brand (not sponsored either!) but use any small candies you like, or use sprinkles!
- Vanilla and Salt: Just a pinch of salt and a little vanilla….both deviate from the classic recipe, but they make a huge difference in the final flavor.
Tips for Melting Marshmallows
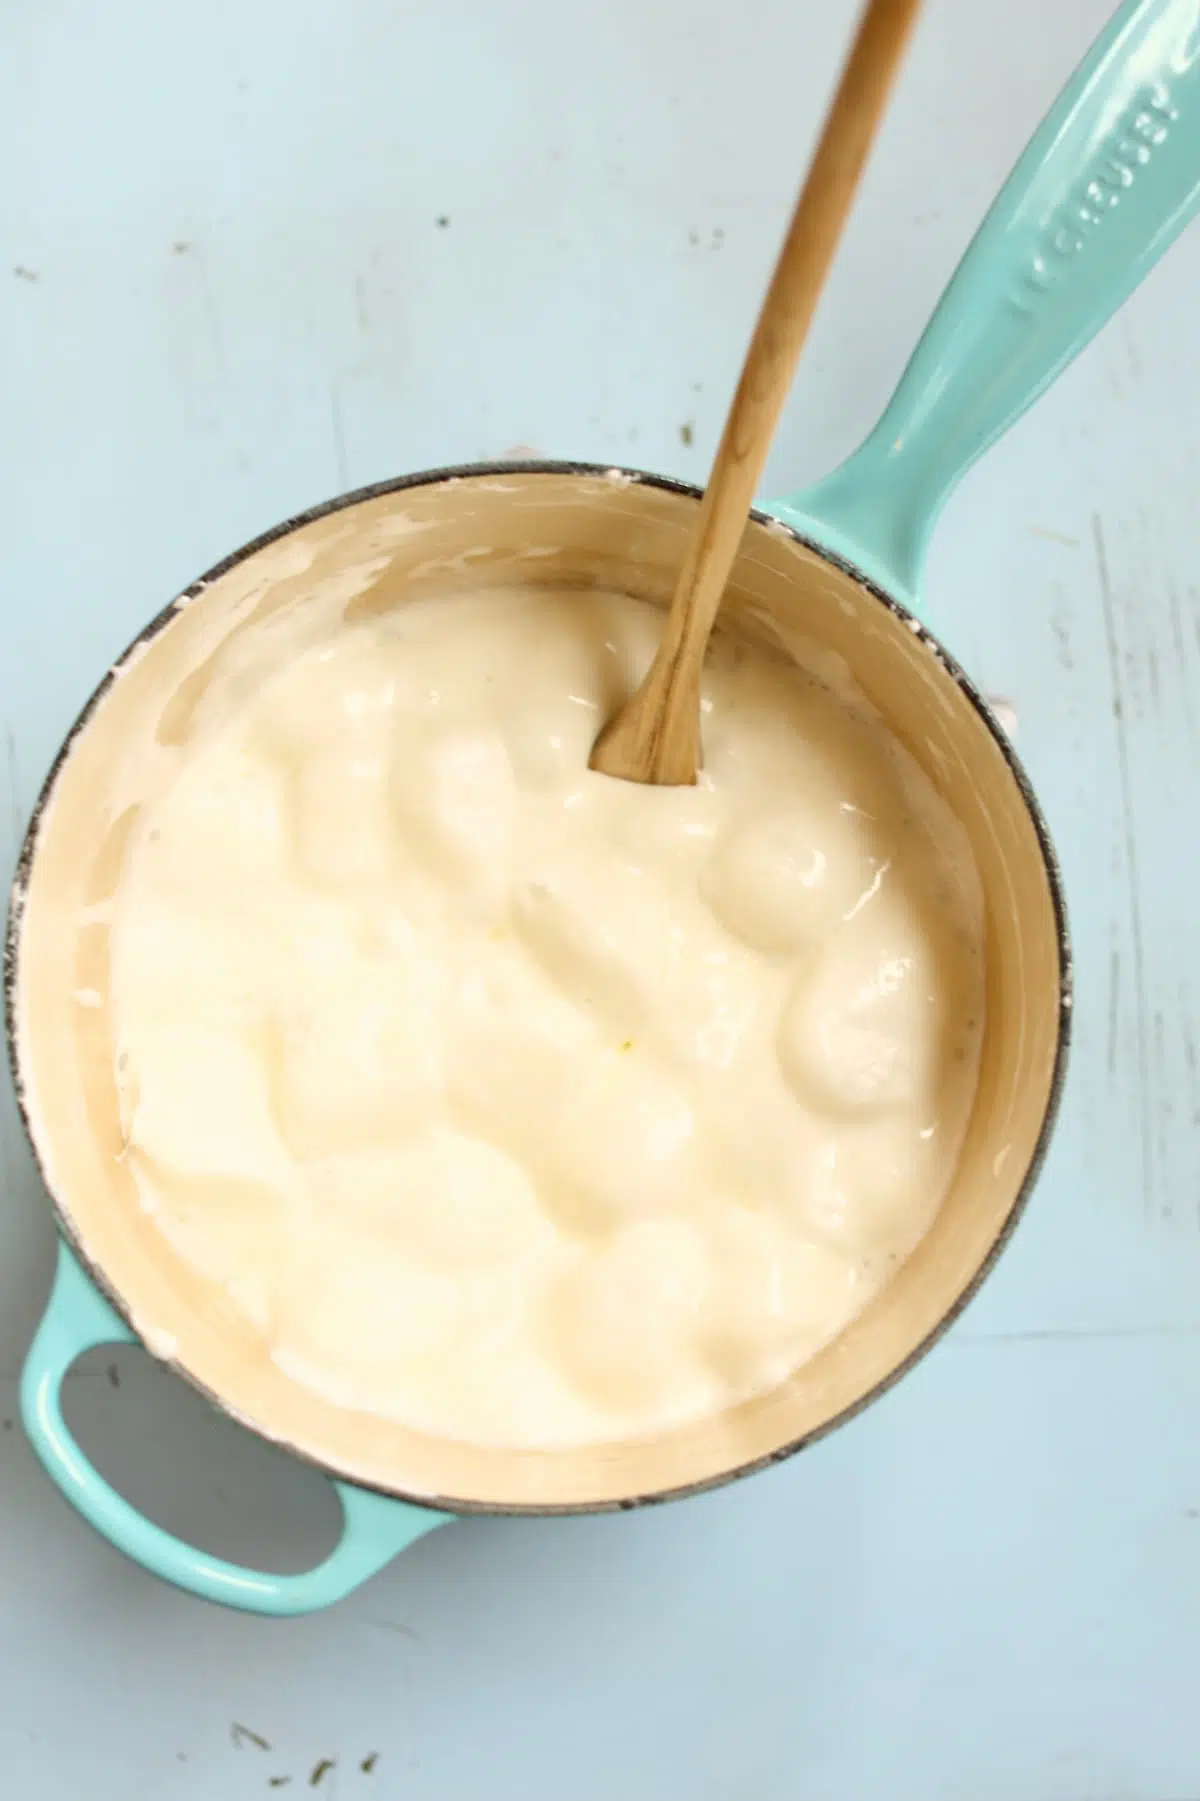
For the full recipe and list of instructions, please scroll down to the recipe card below.
To melt the marshmallows, here’s all you do:
- Melting the butter in a medium-sized saucepan is the first step
- Add the marshmallows, and stir so they are coated with the butter. (Use a silicone or wooden spoon for this)
- Once it starts to melt, stir constantly so the mixture doesn’t burn.
- Pull from the heat just before fully melted. If you overheat in this step, the sugar in the marshmallows will crystalize which makes the treats harder to bite in to. Don’t want this! 🙂
Tips for Melting Chocolate
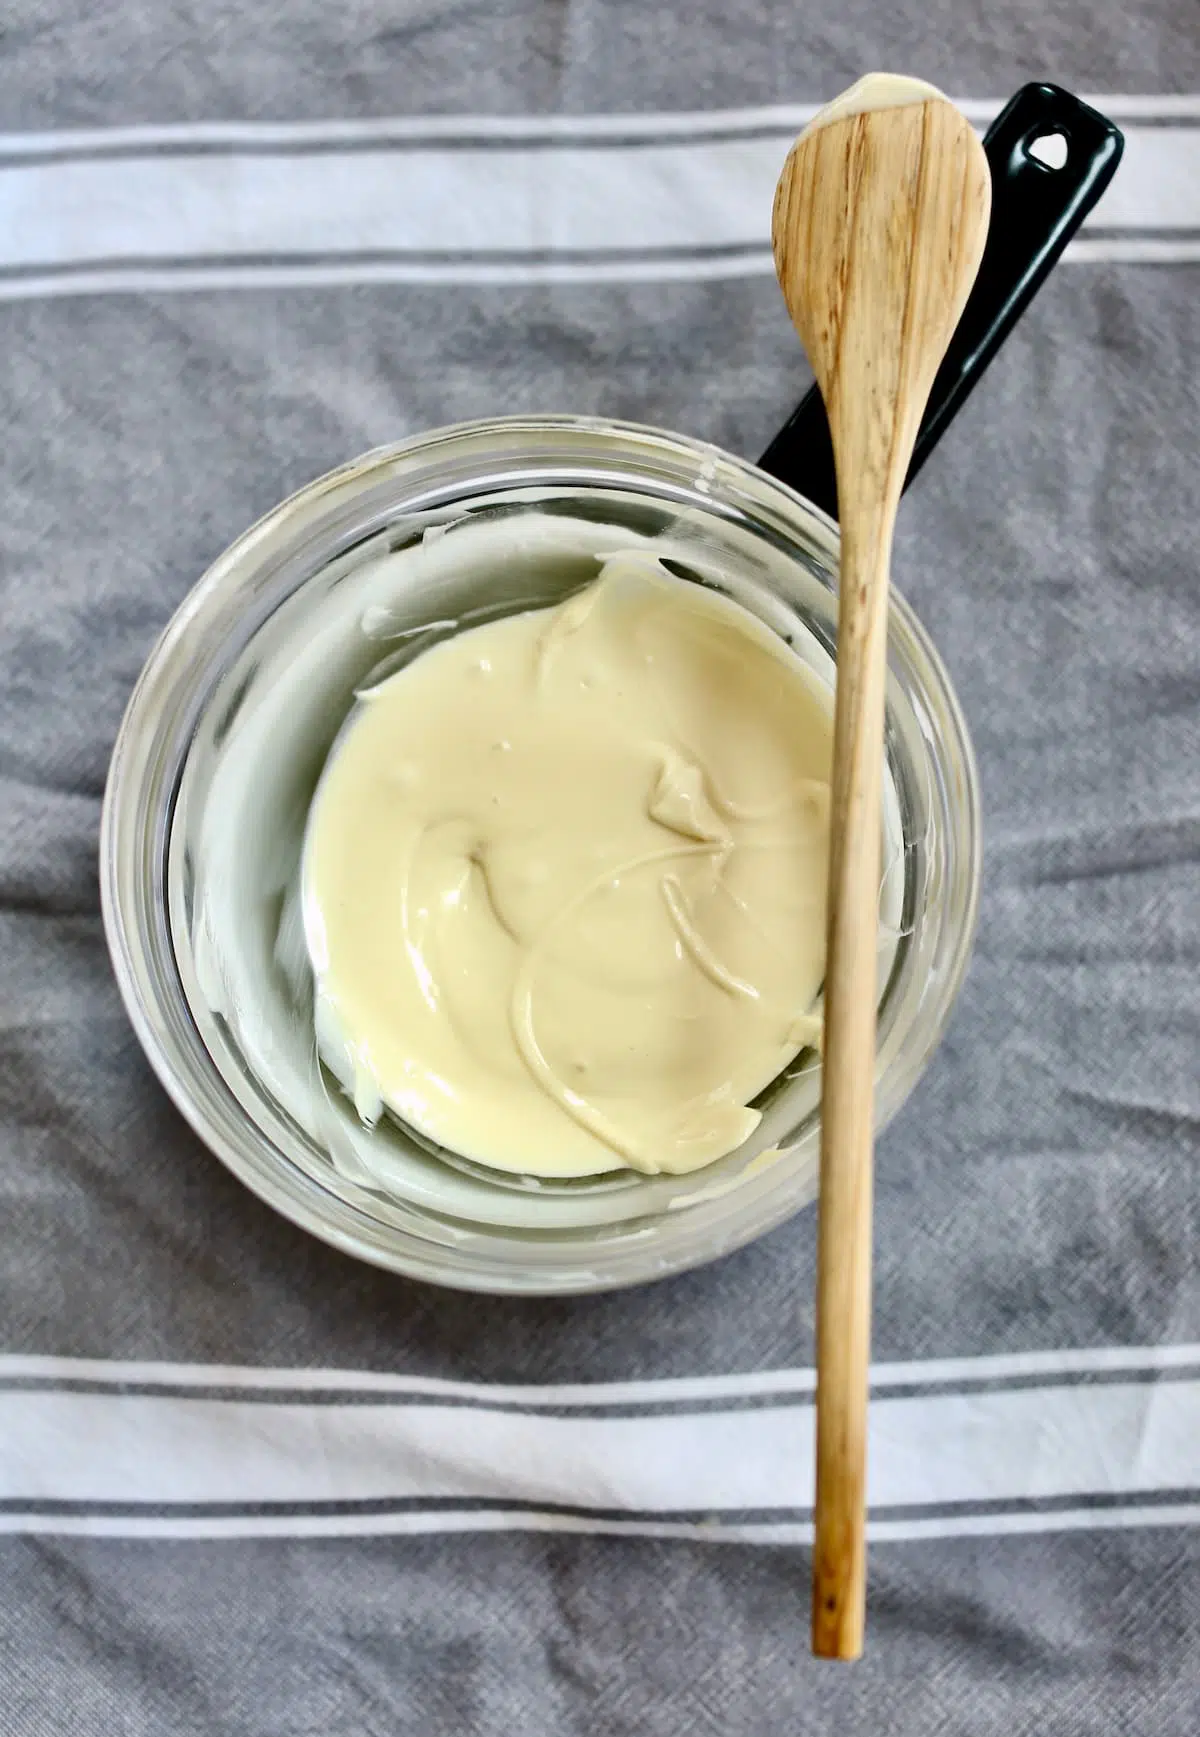
To melt the chocolate, use the double-boiler method:
- Break the chocolate into small pieces and place in a small glass or other heat-proof bowl.
- Use a small bowl that fits inside a medium saucepan with 2-3 inches of water in it. Turn the water to a simmer -not a boil – the bowl should not touch the water in the bottom of the saucepan.
- The chocolate will start to melt right away. Stir it occasionally, and when it’s mostly melted, remove the bowl from the saucepan and set it on a towel to hold in place and continue to stir until it’s fully melted.
- Set aside until you’re ready to dip the treats.
- If the chocolate starts to set up, microwave it (make sure you’re using a microwave-safe bowl) for 20 seconds at a time and stir until it melts again.
Step-by-Step Instructions
For the full instructions and list of ingredients, please scroll down to the recipe card below.
- Prepare the baking sheet (use a 1/4 size sheet pan that’s 9 x 13″, or a baking pan of the same size) and a large bowl by smearing with a little softened butter to prevent sticking.
- Cook the marshmallow – In a large saucepan, melt the butter over medium heat, stirring occasionally until almost but not completely melted. Add the vanilla and salt and stir to combine.
- Place the crispy cereal in a large, buttered bowl, then pour the melted marshmallow mixture over the top, gently tossing and stirring like you would a salad. I use clean, buttered hands for this task or a buttered spatula instead of a spoon which tends to crush the cereal.
- Transfer the mixture to the prepared pan, and lightly press it into place, being careful not to pat it down too much.
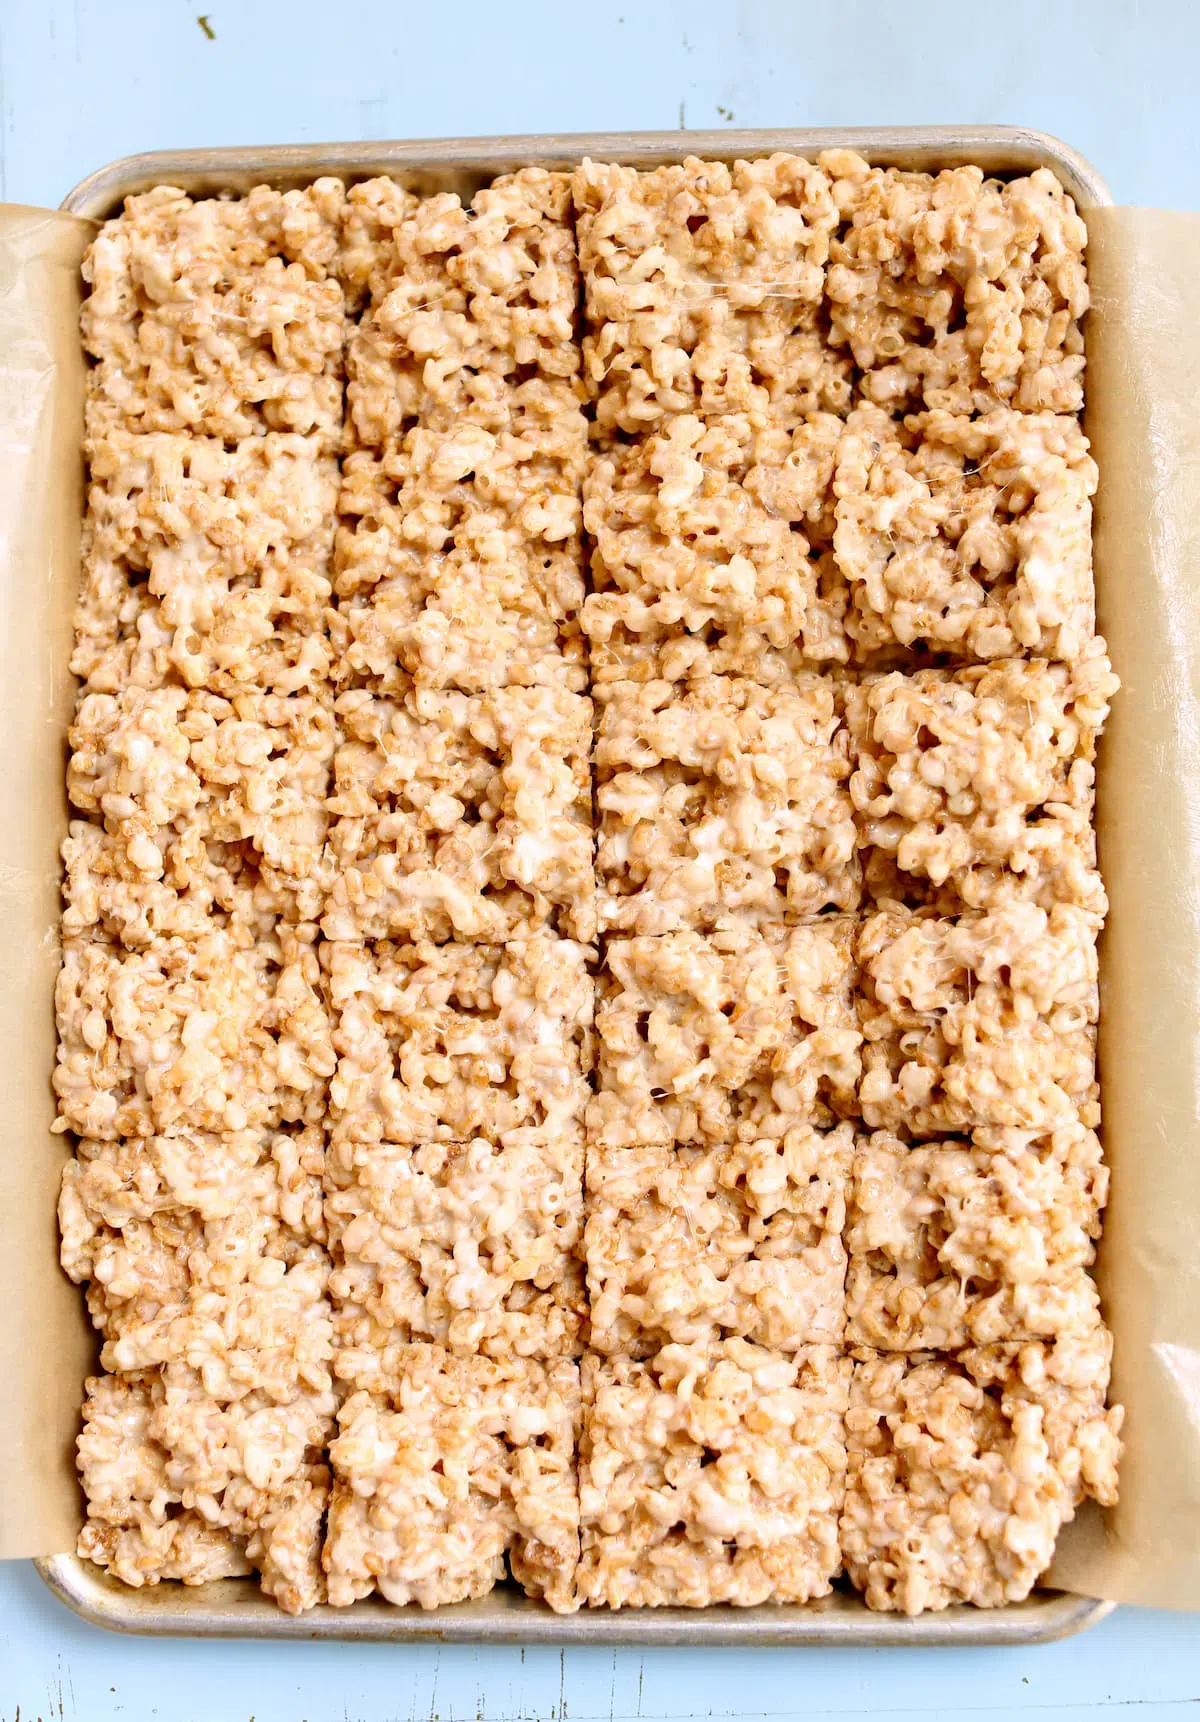
- Let it cool for 15 minutes, then score the tops (which means to cut them about halfway down the pan to make the portions, but don’t cut through to the bottom of the pan.) Once they cool another 15 minutes, you can re-cut the scores with a sharp knife. Why do this? The treats are easier to portion when they’re a bit warm. Once cooled, it’s much easier to go back and cut where you made the scores instead as this mixture starts to set up as soon as it’s off the heat.
- Place the cereal treats on a serving platter or plate…these will be a huge hit!
Expert Tips for Success
- You’ll need additional butter to smear inside the bowl for the cereal BEFORE you add the melted marshmallows. This will keep the mixture from sticking to the bowl.
- You’ll also need a little softened butter to smear on the baking sheet (just a dab to “glue” the parchment paper in place) and a bit more to smear on the parchment paper before putting the treats in. This is the best way to prep these delicious treats to ensure they come out of the pan.
- Be sure to pour the melted marshmallows over the rice cereal that’s in the bowl. Don’t pour the cereal into the melted marshmallows. This makes a big difference in texture, b/c the rice will get soft and will taste stale immediately. I did this many times myself before I heard about this trick, and couldn’t figure out WHY.
- Don’t fully melt the marshmallows.…super important to pull them off the heat before they fully melt for the very best results. If marshmallows get overheated, the sugar crystallizes and makes the treats stiffer, making them hard to bite in to. No no no!
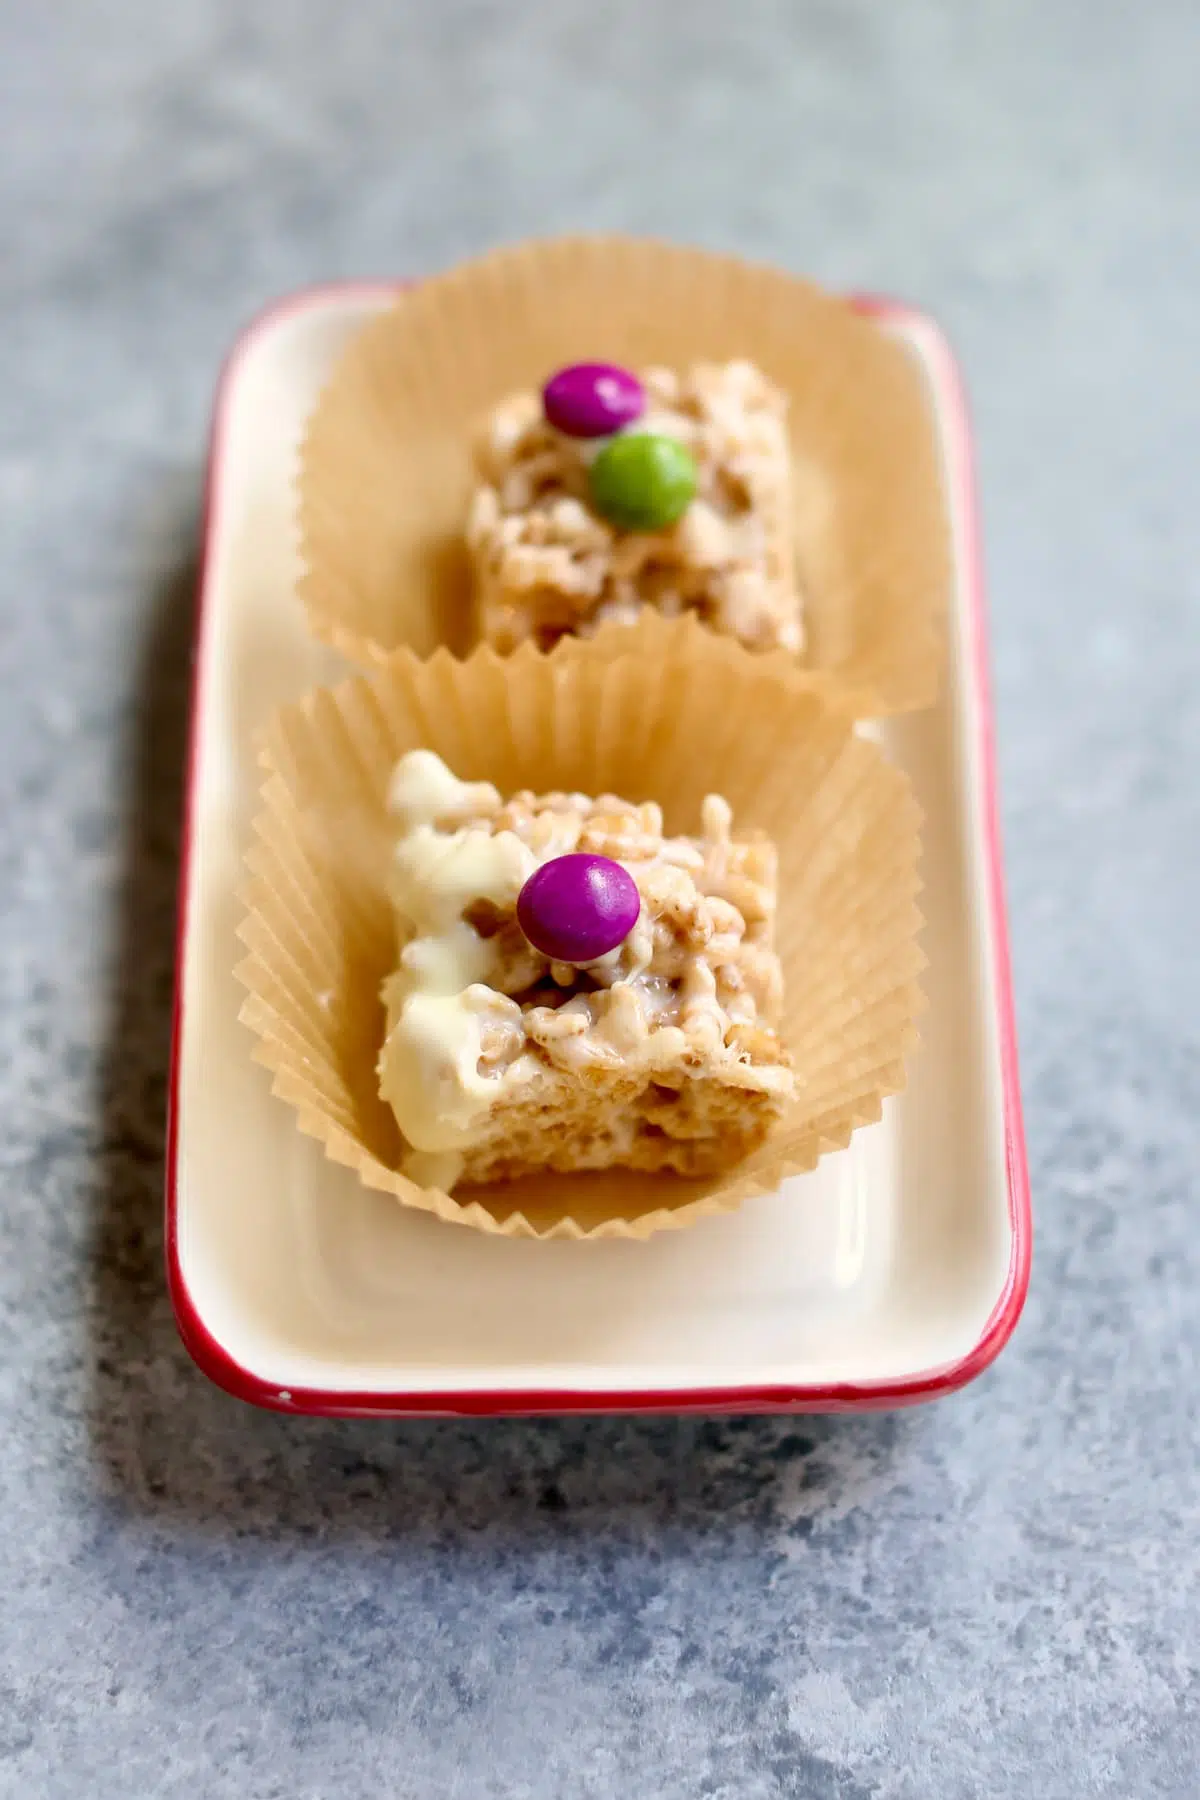
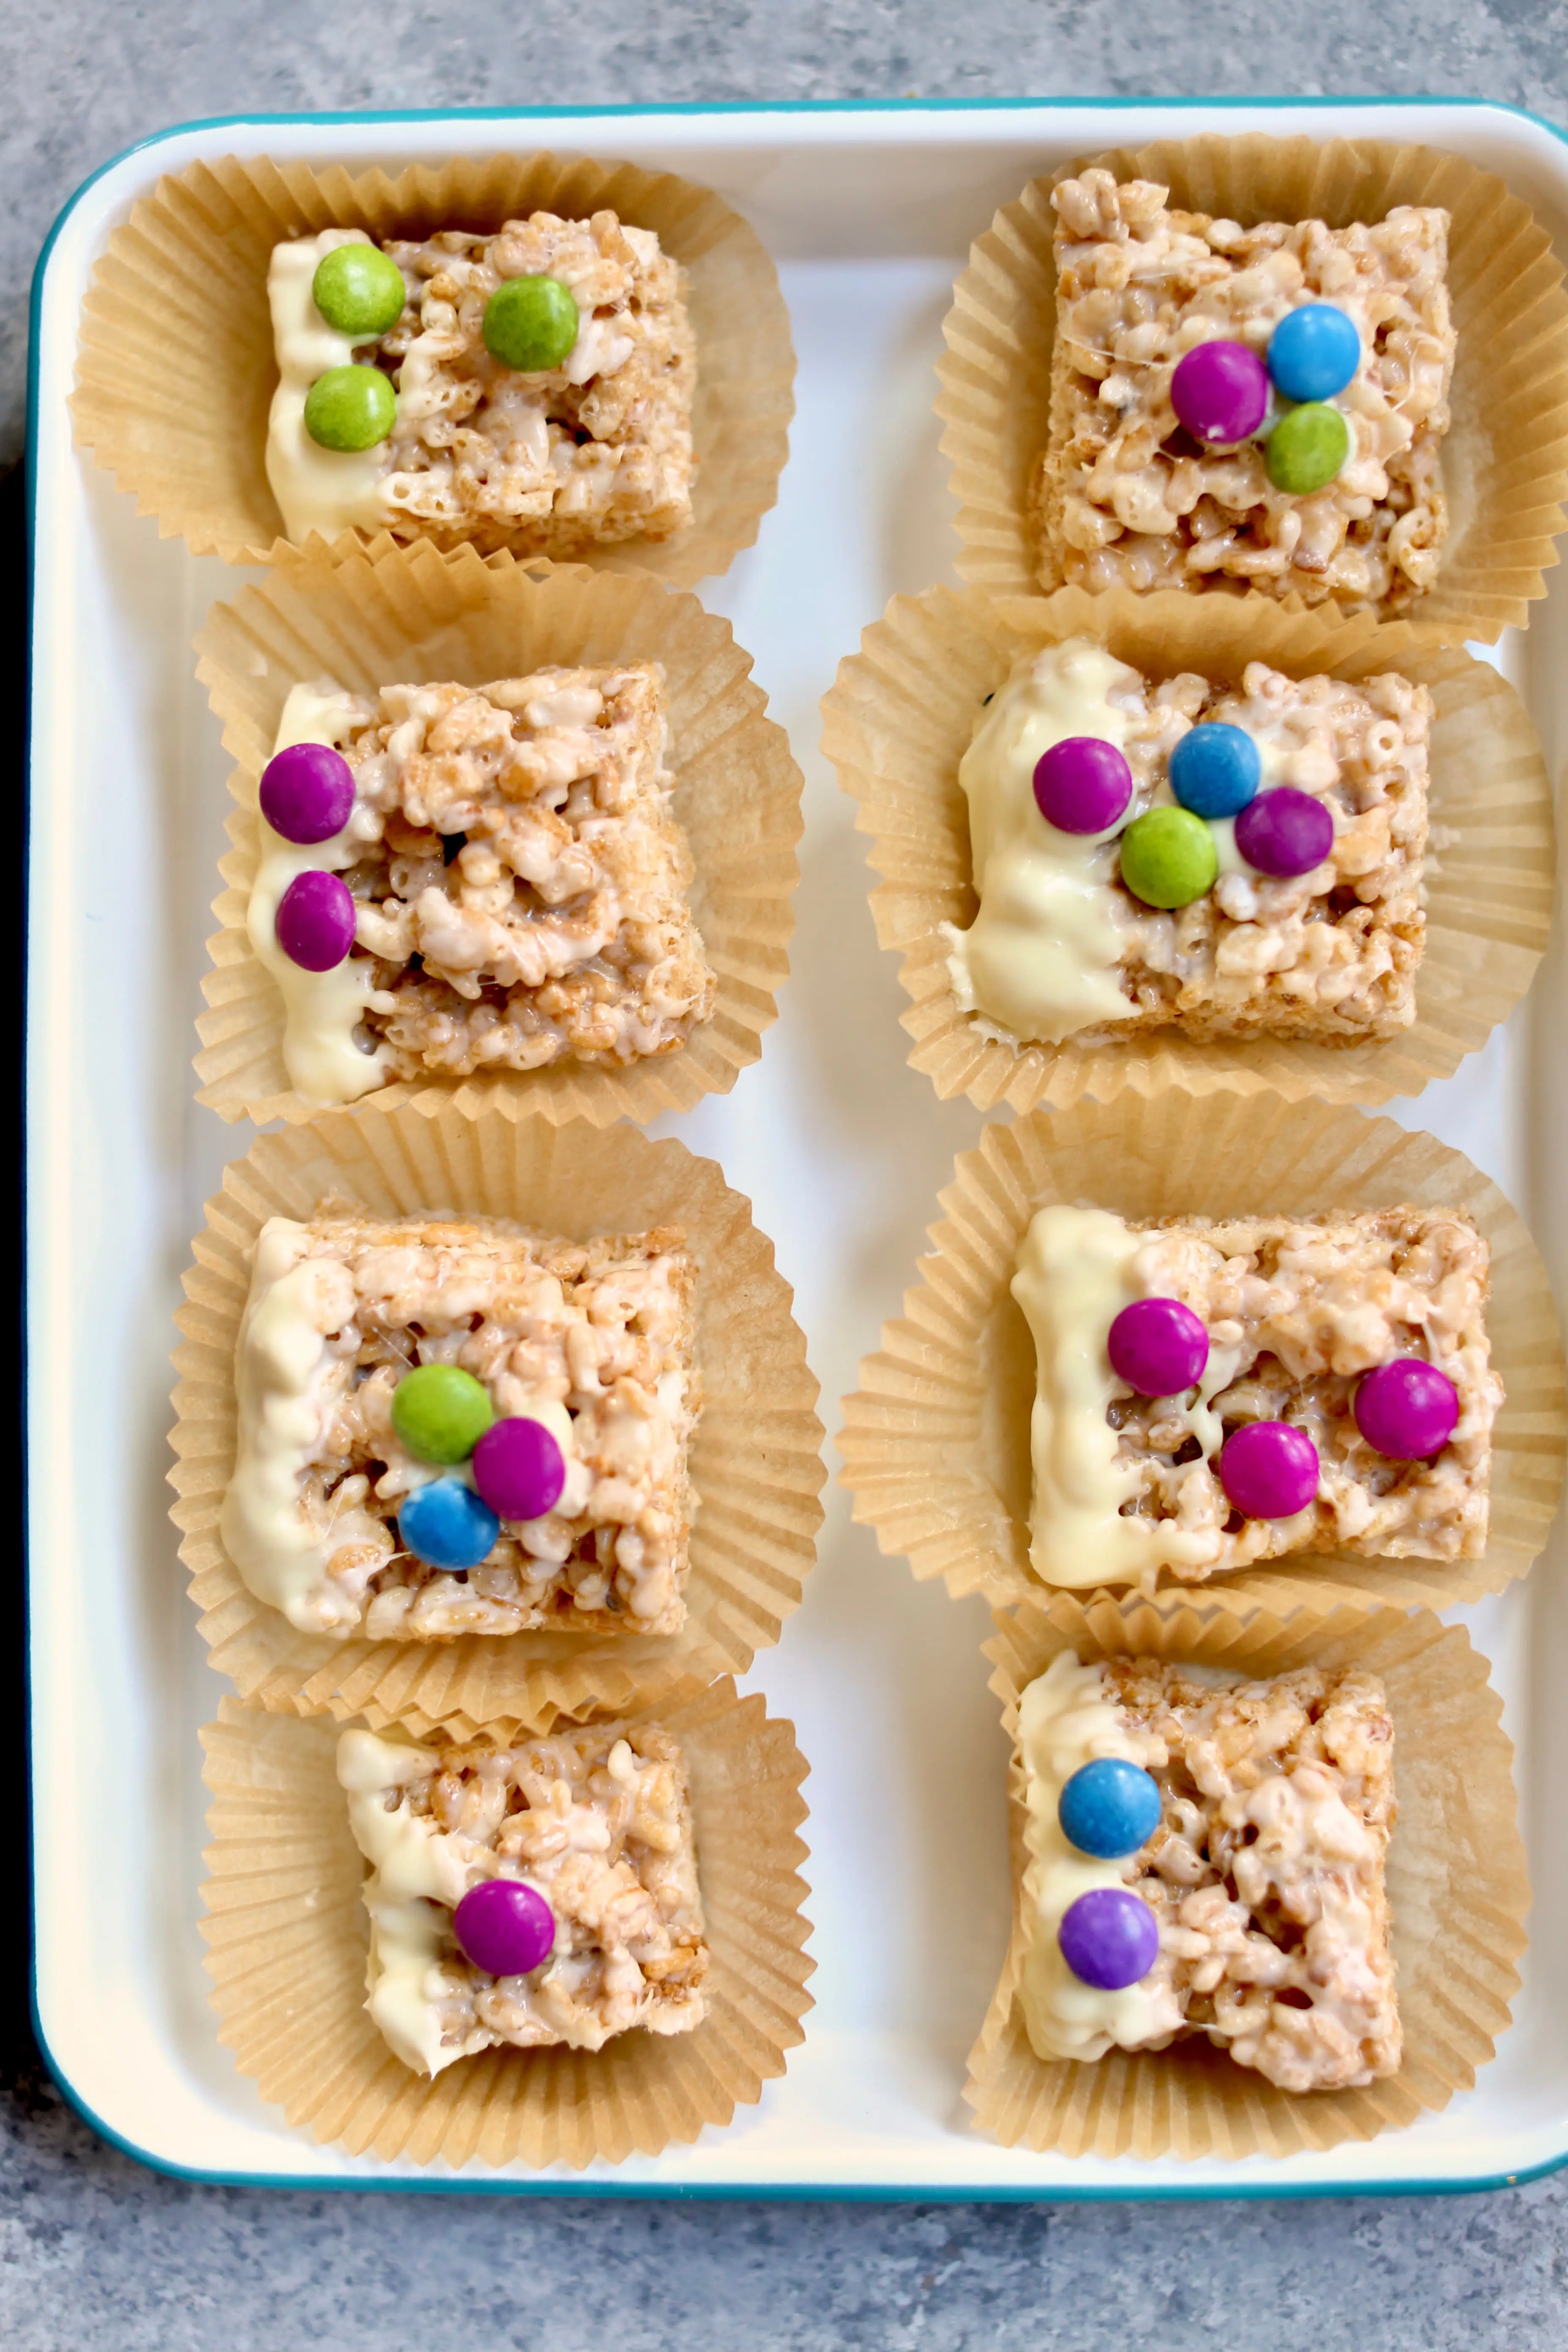
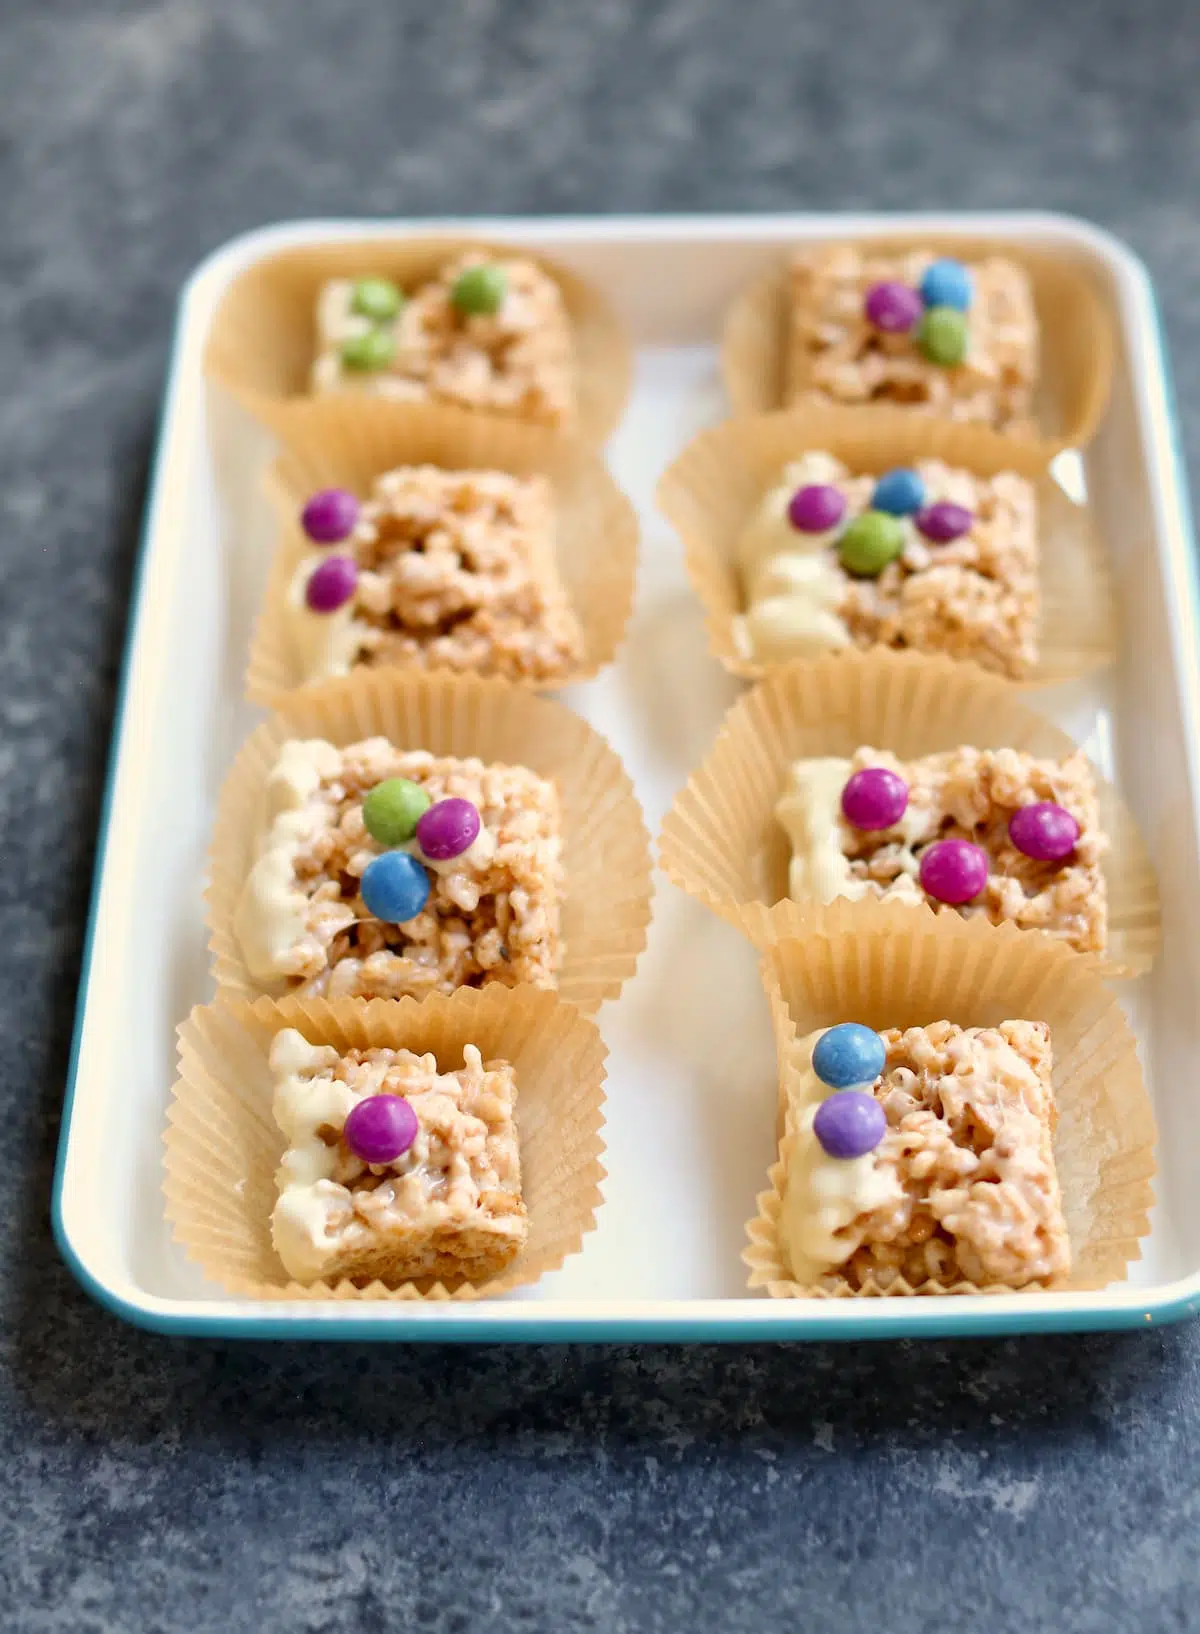
- Use cupcake liners to display the treats on a platter, they look much nicer than without them, and are easier to pick up and eat too.
- When transferring the treats to the baking sheet, don’t push them into the pan….just a light little pat to sort of form them into place. Pushing them too much will also make the treats hard, which is no good. 🙂
Serving Ideas
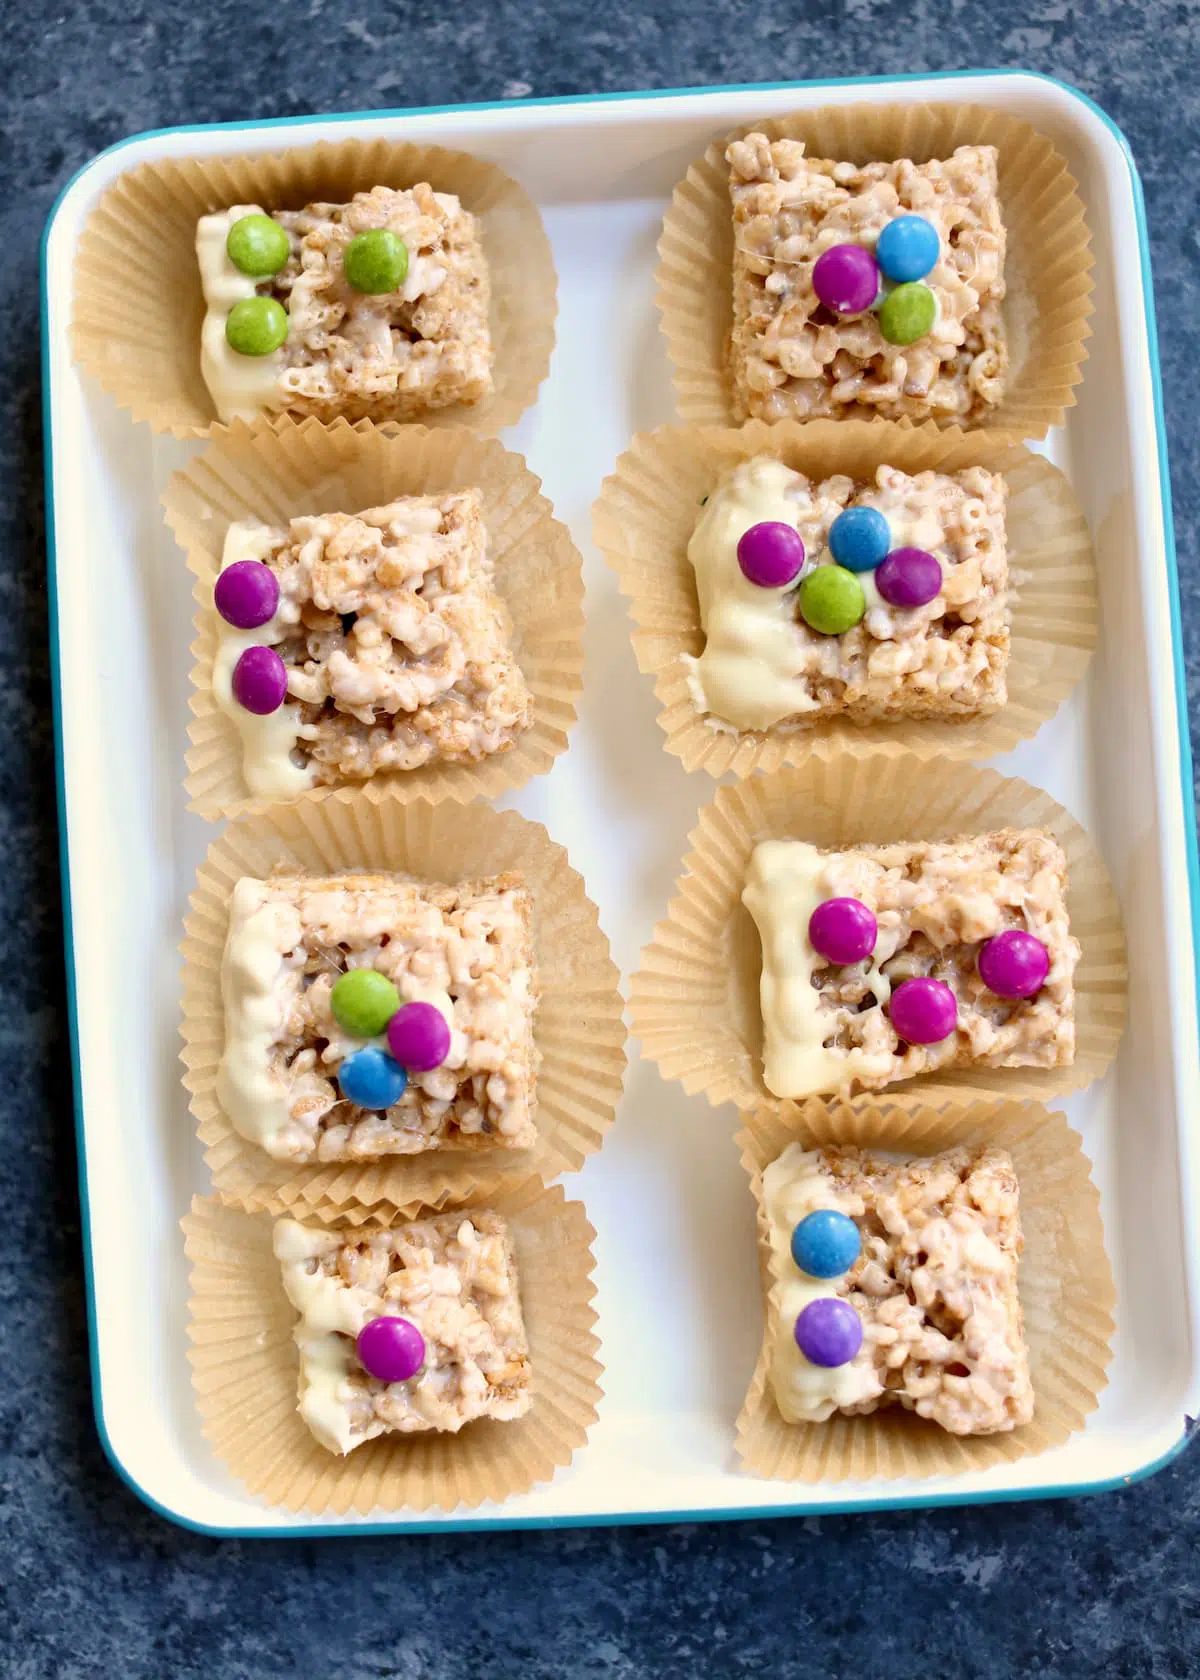
- These crispy treats are an easy recipe idea for kids and adults. (Often the adults are far more excited to eat them!)
- Use cupcake liners for serving! You can use any color or style you want, so use your imagination, there are a lot of cute themed options out there.
- This is a fun dessert to serve with a couple of other dessert items, like a Chocolate Hummus Dessert Tray or Cantaloupe and Ice Cream, Roasted Nectarines with Caramel Sauce, Decorated Chocolate Covered Strawberries, Fresh Tangerine Sorbet, these very good White Chocolate Peanut Butter Cups, these very cute and easy Chocolate Covered Oreos and Ginger Pistachio Biscotti.
- Here’s another simple idea! Put the cut crispy treats on a lollipop stick for a fun way to serve them, or cut them with a cookie cutter (how about a heart shape?)
Frequently Asked Questions
Absolutely! The technique for melting is the same. You can also use pink candy melts or semi-sweet chocolate chips….just use a low heat on the stove for these as well.
Sure can! Try other small candies, or even colorful sprinkles!
Be sure to cover these very well and store in an airtight container with a piece of wax paper layered between them so they don’t stick. That’s the best way, and they can stay at room temperature (no need to refrigerate).
More Recipes to Try:
- Macadamia Shortbread Cookies: Buttery and absolutely delicious!
- Hawaiian Shortbread Cookies: A buttery cookie with chocolate chips.
- Baked Apples with Oatmeal Crumble: The ultimate comfort dessert!
- Rice Pudding with Rhubarb: Creamy and delicious and without dairy!
- Lemon Artichoke Dip: So good, everyone digs in to this fantastic hot dip!
- Butterscotch Shortbread Cookies: Buttery, soft and dipped in chocolate!
- White Chocolate Popcorn with Sprinkles: Crunchy and sweet, a fabulous snack!
- Chocolate Chip Cookies with Pecans: Guys, these are some of the best!
- Sweets Things: A round-up of favorite sweets recipes.
- Chocolate Dipped Krispy Rice Treats Web Story is here.
- Non Dairy Hot Chocolate Recipe: An all-time favorite!
If you’ve made Chocolate Covered Rice Krispie Treats, or any recipe on Studio Delicious, leave a recipe rating and tell me all about it in the comments below!
Looking for more tips and fresh, homemade recipes? Join my email list, tag and follow me on Instagram using #studiodeliciouseats, follow my boards on Pinterest, and see what I’m up to on Facebook and Twitter!
Chocolate Covered Rice Krispie Treats
Ingredients
- 6 tablespoons Butter, unsalted plus more for bowl and baking sheet
- 16 ounces Marshmallows
- ¼ teaspoon Pure Vanilla Extract
- ¼ teaspoon Kosher salt Diamond Crystal
- 7 cups Crispy Rice Cereal
- 4 ounces White Chocolate, like Ghiradelli's
- ½ cup Candy, for decoration Sun Drops or M&M's
Instructions
- Prepare a 9×13" baking sheet or pan by lining it with parchment paper that's been smeared with a little softened butter to prevent sticking. Butter the inside of a large bowl the same way. This will prevent sticking when you combine the cereal and the melted marshmallow mixture in the bowl.
- In a medium non-stick saucepan, melt the 6 tablespoons of butter over low heat. Add the marshmallows, turn up the heat to medium high, and stir until the marshmallows are mostly melted. Don't overheat….remove the pan from the heat before the marshmallows are completely melted, you'll still see some shape to them, and the mixture will not be completely smooth. Stir in the vanilla extract and the salt.
- Add the crispy rice cereal to the large bowl that you've buttered the insides of. Now pour the melted marshmallow mixture over the top of the cereal, scraping any remaining mixture into the bowl with a spatula. Using your (buttered, clean) hands or a silicone spatula or spoon, carefully and gently toss the mixture together, starting at the bottom and bringing it to the top, making sure the cereal is coated with the marshmallow mixture. While it's still warm, transfer the mixture to the prepared 9×13" baking sheet or pan, and gently pat the mixture in, just enough to hold it in place. Don't press it down!
- Let this cool for 15 minutes, then carefully cut into approximately 30 2-inch squares. You'll need to score or cut these while they are still a little warm, but keep them in the pan to set up and cook for another 15 minutes or so. You can use your knife again to make a cleaner slice after they've cooled a bit longer.
- To melt the chocolate for dipping, in a medium-sized saucepan heat a couple of inches of water to a simmer, not boiling. Place the chocolate in the bowl inside a medium glass bowl that will fit inside the saucepan without letting the bowl touch the simmering water. Stir occasionally, until the chocolate is melted. Pull the chocolate off the heat just before it's fully melted, and keep stirring. It will continue to melt from the residual heat. Dip the ends of the treats into the melted chocolate, then transfer to a cooling rack. Place chocolate candies on top of the melted chocolate, then let them cool. To place candies in the middle of the treats, dab a dime-sized amount of chocolate where you want it as "glue", then place the candy on top and let it cool. Enjoy!
Notes
- You’ll need additional butter to smear butter inside the bowl you’ll put the cereal in before you add the melted marshmallows. This will keep the mixture from sticking to the bowl.
- You’ll also need a bit of softened butter to smear on the baking sheet before placing the mixed treats on the sheet (that’s been lined with parchment paper.)
- Be sure to pour the melted marshmallows over the cereal in the bowl. Don’t pour the cereal into the melted marshmallows. Makes a big difference in texture, b/c the rice will get soft if you do it this way and will taste stale immediately.
- Don’t fully melt the marshmallows….pull them off the heat before they fully melt for best results. If the marshmallow gets overheated, the sugar crystallizes ad makes the treats stiffer, hard to bite in to.
- Use cupcake liners to display the treats on a platter, they look much nicer than without them.
- When transferring the treats to the prepare baking sheet, don’t push the treats into the pan….just a light pat to get them into place. Otherwise, the treats will be dense and hard.
Nutrition
- Super important to read the whole recipe before you begin
- Pay attention to the ingredient list and photos for the recipe
- If possible, prep your ingredients a little before you start
- Always use a sharp knife for safety
- Use the size of pan called for in the recipe
- For savory recipes, taste and season as you go
- Buy fresh, organic ingredients, locally sourced whenever possible



Love your tips about marshmallow melting, these are a drool-worthy treat!
Thank you! Appreciate it! 🙂